How to Install SteamOS on the Original Lenovo Legion Go
A step-by-step guide to installing Valve's own SteamOS on the first-gen Legion Go, from the recovery USB and BIOS settings to first boot, Decky Loader, and what to expect.
By Vet, VetTV Handheld
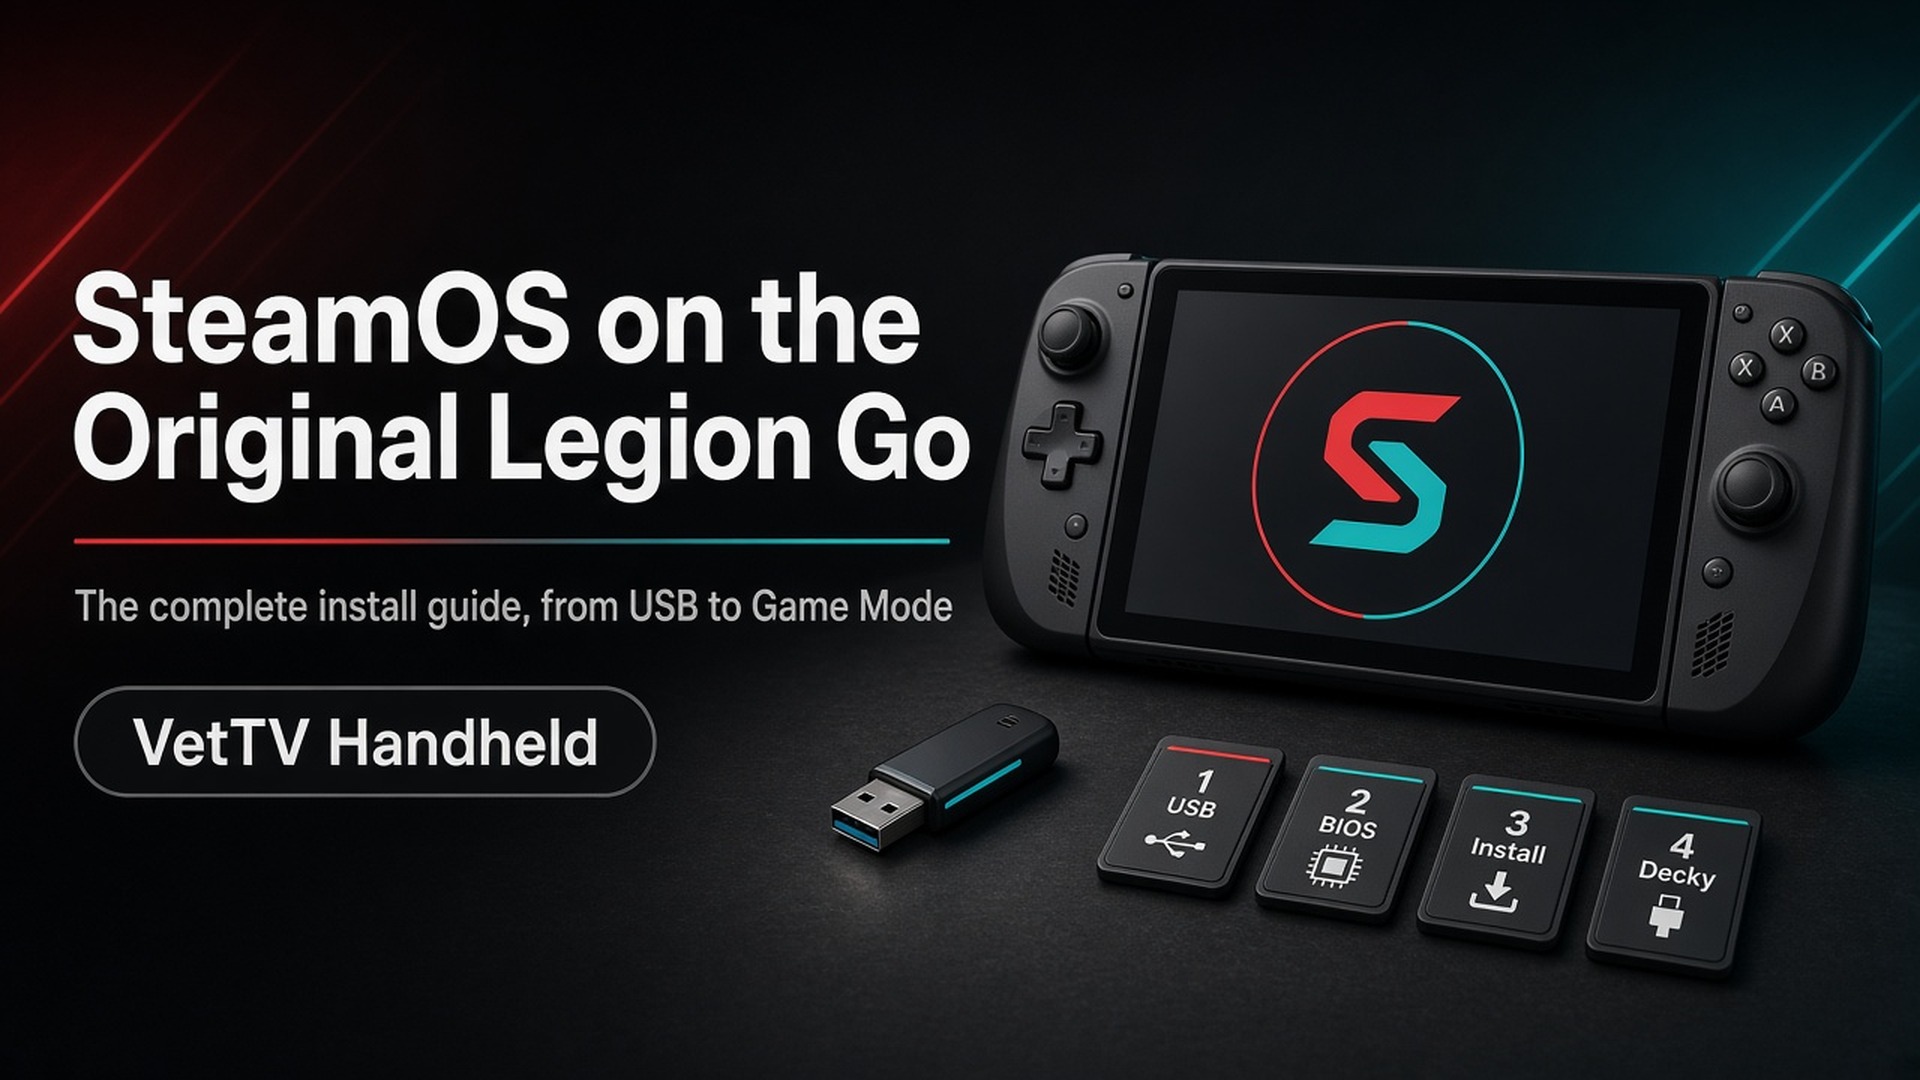
I run SteamOS on my original Lenovo Legion Go every day, and it’s the question I get asked most: “How do I put SteamOS on mine?” The good news is that you no longer need a community fork. Valve’s own SteamOS recovery image installs on the original Go. Here’s exactly how I’d do it today, plus the things I wish someone had told me first.
Heads up before you start: a clean SteamOS install wipes the device, including Windows, your games, and any local files. Back up anything you care about first.
Where the original Legion Go stands
Valve’s “Powered by SteamOS” devices are the Steam Deck, the Steam Machine, and the Lenovo Legion Go S. The original Legion Go is not on that list. Since SteamOS 3.7.8, Valve’s notes have advertised “improved support for other AMD-powered handhelds (like the ROG Ally and original Legion Go),” and Valve says it’s “continually working to improve compatibility with other devices.”
In practice: it installs and works, and Valve keeps improving it, but it isn’t a certified, fully supported device. Some guides call this tier “enhanced support.” As of today, SteamOS Stable is 3.8.28 and the Beta is 3.9.2. 3.9.2’s notes name the Legion Go 2 but nothing specific to the original Go.
What you need
- Your original Legion Go, charged or plugged in.
- A USB drive of at least 8GB. Its contents will be erased.
- A way to plug it in: a USB-C drive, or a USB-C hub or adapter.
- A PC (or the Go itself, in Windows) to write the image.
- Optional but handy: a USB keyboard and mouse.
Step 1: Download Valve’s recovery image
Get the image from Valve’s official SteamOS download page (linked in the sources below), not from a mirror or a random repo. Fake “SteamOS installers” really are a thing. The file is a compressed recovery image (Valve’s own instructions reference a file named like steamdeck-recovery-4.img.bz2).
Step 2: Write it to the USB drive
You have to write the image to the drive. Copying the file onto it won’t work.
- Windows: use Rufus. Pick your USB drive, select the downloaded image, and start. Double-check you picked the right drive.
- macOS/Linux: Balena Etcher works. Choose Flash from file, select the image, select the target drive, then Flash.
- Linux command line: Valve also gives a
bzcat … | sudo dd …command. Only use it if you’re comfortable making sure the device path is correct.
Step 3: Disable Secure Boot in the BIOS
Valve says most non-Steam Deck devices need Secure Boot disabled to boot the recovery image. Valve’s sample steps for the original Legion Go:
- Power the Go down completely.
- Hold Volume +, press Power, and keep holding Volume + until the Novo Button Menu appears.
- Pick BIOS Setup (you may have to use the touchscreen).
- Tap More Settings, then Security.
- Under Secure Boot, pick Disabled.
- Tap Exit, then Exit Saving Changes.
Firmware menus can vary by BIOS version, so if your labels look a little different, look for the same settings.
Step 4: Boot from the USB
With the USB plugged in, power the Go off again and open the Novo Button Menu (Volume + and Power). This time pick Boot Menu and choose your USB drive. It’s usually listed as an EFI USB device. Give it a few minutes; slow drives take a while to boot.
Step 5: Re-image the device
The recovery environment boots to a desktop with a few options. According to Valve’s descriptions:
- Re-image Device: a full factory reset. All user info, installed games, applications, and operating systems are wiped and replaced with stock SteamOS. This is the one for a fresh install.
- Repair SteamOS: reinstalls SteamOS while trying to keep your games and personal content. That’s for fixing an existing SteamOS install later.
- Recovery tools: advanced repair tools.
Pick Re-image Device, confirm the warning, and let it finish. Keep the Go plugged in and don’t interrupt it. When it’s done, reboot into SteamOS setup.
Step 6: First boot essentials
- Choose your language and timezone, connect to Wi-Fi, and sign in to Steam.
- Update right away. The recovery image is usually behind the current release. Go to Settings > System, check for updates, install, and reboot. One reviewer noted SteamOS wouldn’t install the update on a Legion Go S until it was plugged in, so keep your charger handy.
- Pick your update channel in Settings > System > System Update Channel. Stable (3.8.28) is the safe daily driver. Beta (3.9.2) gets fixes sooner, but it’s beta software.
- Sync your saves with Steam Cloud before you start experimenting.
Step 7: Install Decky Loader (optional)
Decky Loader is the homebrew plugin launcher many of us use on SteamOS. It’s not from Valve, so install it at your own risk. From the official Decky Loader README:
- Press the Steam button, open the Power menu, and pick Switch to Desktop.
- In a browser, download the decky_installer.desktop file from Decky’s GitHub. If Firefox saves it as
decky_installer.desktop.download, rename it. - Drag it to the desktop and double-click it.
- Enter your admin password, or let the installer temporarily set it to
Decky!(it removes it when done). - Choose Latest Release (Pre-Release is meant for plugin developers).
- Use the Return to Gaming Mode shortcut.
Afterward, open Quick Access and look for the plug icon. That’s the Decky menu, with a store for plugins.
Known issues and tips
- Decky can vanish after SteamOS updates. The Decky team’s fix is to re-run the installer and install the stable branch again. If that doesn’t work, try the pre-release.
- Port conflicts. Decky needs ports 8080 and 1337. If you run Syncthing as a service, move it to port 8384.
- Can’t boot the USB? Make sure the image was written with Rufus or Etcher, not copied. Try another drive or hub, fully shut down before opening the boot menu, and choose the EFI/UEFI entry.
- It’s not a certified device. Expect the occasional rough edge on the original Go that a Steam Deck wouldn’t have, and keep an eye on Valve’s release notes. I cover new ones on the channel.
That’s it. Welcome to SteamOS on the original Legion Go! If you get stuck, drop a comment with where you got stuck and your BIOS version.
Subscribe at youtube.com/@VetTVHandheld.
Sources
- Valve, SteamOS Installation and Repair (Steam Support): https://help.steampowered.com/en/faqs/view/65B4-2AA3-5F37-4227
- Valve, Official SteamOS image download: https://store.steampowered.com/steamos/download/?ver=steamdeck
- PC Guide, “Valve explains how to install SteamOS on your original Legion Go or ROG Ally” (quotes Valve’s Legion Go Secure Boot steps): https://www.pcguide.com/news/valve-explains-how-to-install-steamos-on-your-original-legion-go-or-rog-ally-with-latest-update/
- Held Games, “How to Install SteamOS on the ROG Ally, Legion Go, and MSI Claw”: https://heldgames.com/guides/install-steamos-third-party-handhelds
- Handheld Atlas, “How to Repair or Reinstall SteamOS on a Handheld”: https://www.handheldatlas.com/guides/how-to-repair-or-reinstall-steamos-on-a-handheld
- Legion Go Life, “How To Install SteamOS On The Legion Go”: https://legiongolife.com/how-to-install-steamos-on-the-legion-go/
- PC Gamer, Legion Go S SteamOS install experience: https://www.pcgamer.com/hardware/handheld-gaming-pcs/ive-swapped-windows-for-the-latest-steamos-build-on-my-legion-go-s-and-im-not-going-back/
- SteamDeckHomebrew, Decky Loader README: https://github.com/SteamDeckHomebrew/decky-loader